Most brands dive into custom fabric printing with bold designs—and end up with blurry logos, faded colors, and inventory they can’t sell. The problem isn’t creativity. It’s process. They skip critical technical checks, assume all printers are equal, and treat fabric like paper. But digital textile printing doesn’t forgive guesswork. Here’s how to get it right the first time—on spec, on budget, and on brand.
Why 83% of First-Time Custom Fabric Printing Projects Fail
It’s not about talent. It’s about mismatched expectations. Designers create stunning mockups in RGB on glossy screens—then hand them off to printers who work in CMYK on absorbent cotton. Colors shift. Details bleed. And suddenly that “luxury” scarf looks like a napkin from a discount bin.
And DPI? Forget it. Most don’t realize fabric needs *higher* resolution than paper—not lower—because ink spreads across fibers. One client of ours sent a 72 DPI file for a silk dress run. Result? A $4,200 write-off. All because they treated fabric like a JPEG.
Your Step-by-Step Custom Fabric Printing Workflow That Actually Works
Forget “upload and pray.” Follow this battle-tested sequence:
Pre-Press: Nail Your File Specs Before Hitting Send
Confirm your printer’s exact requirements: color profile (usually sRGB or Adobe RGB), bleed (typically 0.5″–1″), and minimum DPI (300+ for fine details). Save as TIFF or PNG—never JPEG. JPEG compression murders subtle gradients on natural fibers.
Fabric Choice Dictates Everything—Including Profit Margins
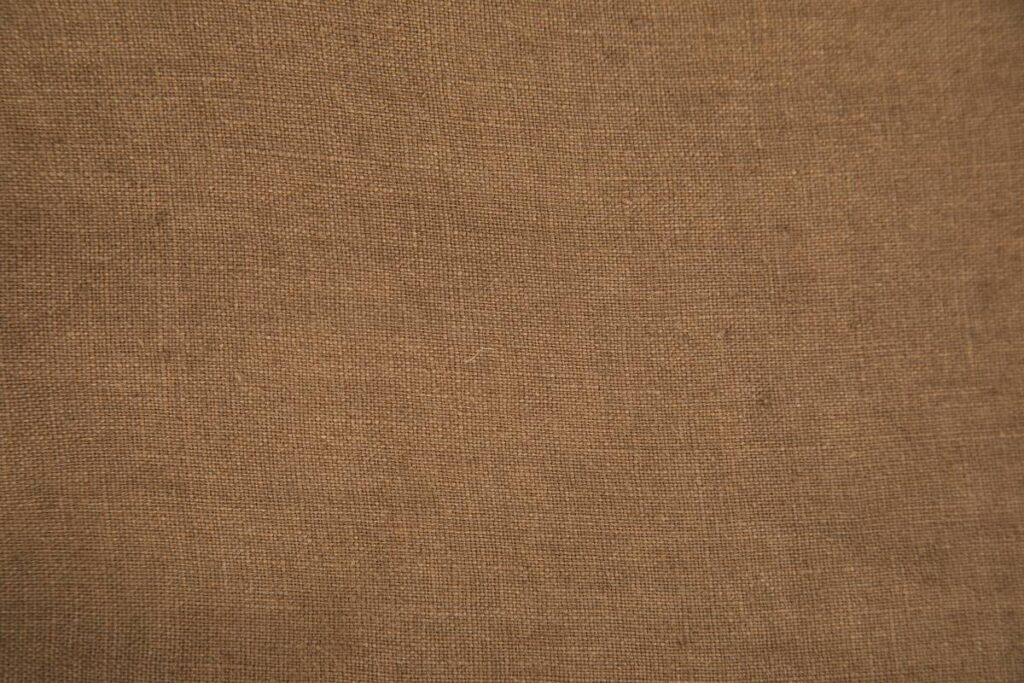
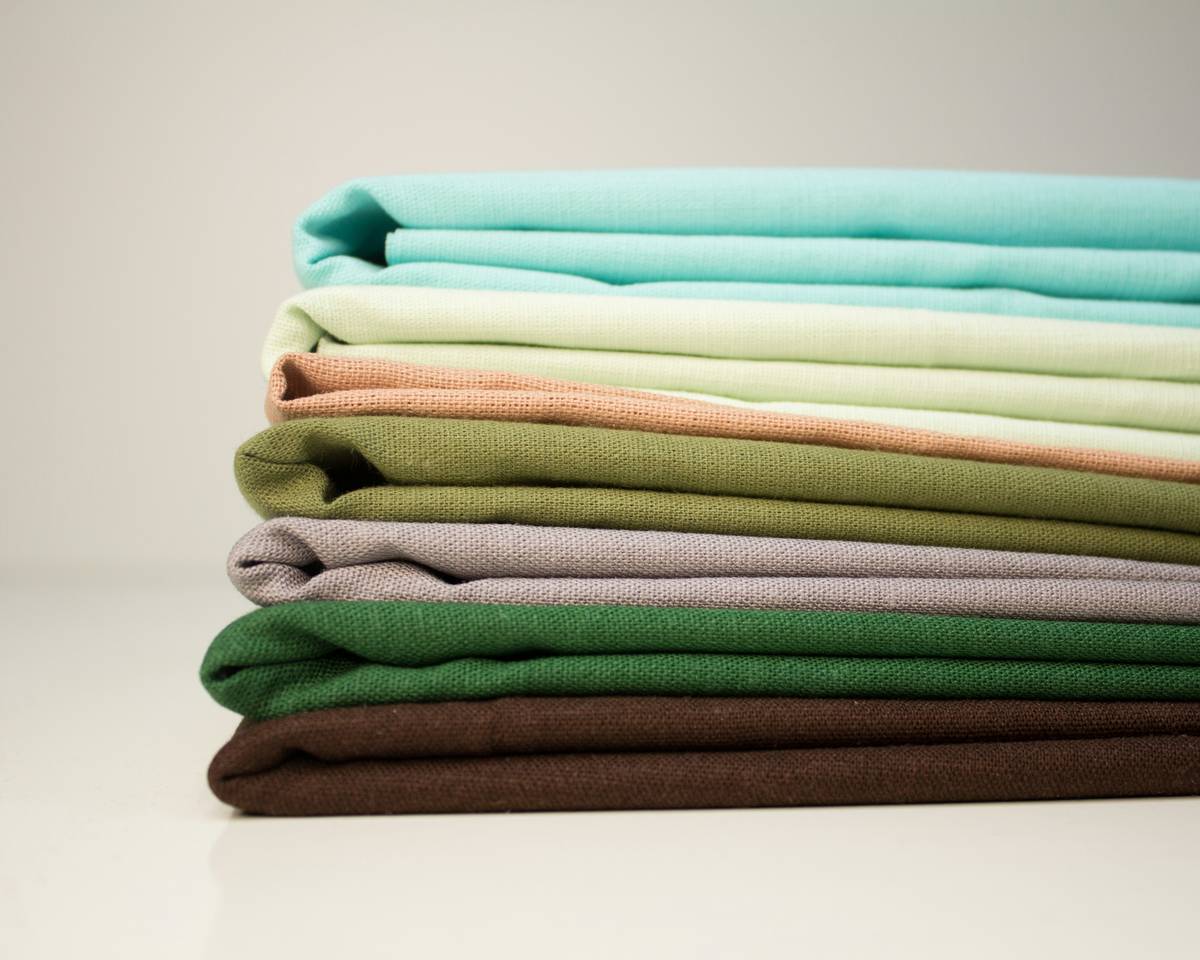
Silk absorbs ink differently than polyester. Cotton stretches when wet. Linen? Prone to misregistration. Pick your base material *before* finalizing your design—not after. A vibrant floral might pop on satin but drown on unbleached muslin. Test swatches aren’t optional—they’re your insurance policy.
Pilot Runs Beat Full Production Every Time
Run 1–3 yards first. Check wash-fastness. Iron it. Crumple it. See how it behaves in real life. One indie fashion label skipped this—and discovered their “eco-friendly” water-based ink bled after the first cold wash. Their entire summer collection turned into tie-dye disaster.
| Printing Method | Best For | Min. Order (Yards) | Color Vibrancy | Durability After Washes |
|---|---|---|---|---|
| Digital Direct-to-Fabric | Complex designs, small batches | 1–3 | ★★★★☆ | 15–20+ |
| Screen Printing | Bold solids, large runs | 50+ | ★★★☆☆ | 30+ |
| Dye Sublimation | Synthetics only (polyester) | 5–10 | ★★★★★ | 50+ (permanent bond) |
The Industry Secret No Printer Will Tell You
Here’s the reality: most “custom fabric printing” shops outsource to the same 3–4 industrial facilities in North Carolina or Guangdong. The markup? Often 300–500%. But—and this is critical—you don’t need a middleman if you’re doing under 100 yards.
Direct-to-fabric micro-printers like Spoonflower (now part of Shutterfly) or Contrado offer true on-demand production with no hidden dies or screens. True, their base prices seem higher per yard… until you factor in zero setup fees, instant reorders, and pixel-perfect color matching via ICC profiles. For creators testing product-market fit, bypassing traditional vendors isn’t just smarter—it’s margin-preserving.

Frequently Asked Questions
What fabric is best for detailed custom fabric printing?
Tightly woven polyester or satin gives the sharpest detail. Natural fibers like cotton require higher DPI files and may soften fine lines due to ink absorption.
Can I print photos on fabric?
Yes—but only with digital direct-to-fabric methods using 300+ DPI files. Avoid JPEGs; use lossless formats and confirm your printer supports photographic reproduction.
How do I ensure color accuracy?
Always request a physical proof printed on your chosen fabric. Screens lie. Lighting lies. Only a tangible swatch reveals true hue, saturation, and how ink bonds to fibers.